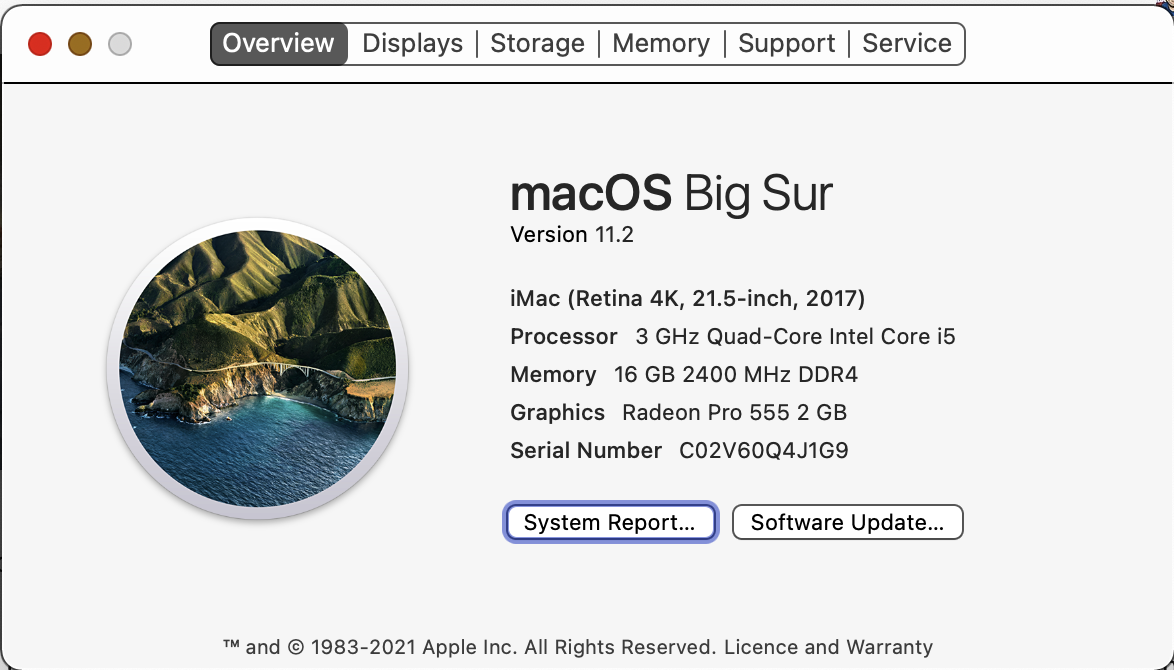
I’d attempted several times to get Big Sur working on my 2017 4k iMac, but each time a different error was encountered. i thought I had it right once, but some unknown process kept consuming all 16 GB of RAM & creating swapfiles to free up said RAM. I gave up when the tally of swapfiles had reached eighteen. I restored from a clone backup on an external SSD & left it at that.
About a week ago I tried a different trick: started from the Recovery partition (⌘ R at startup) and erased the destination drive, using Internet Recovery to download & install Big Sur. The download worked, the installation did not, I was left with a useless empty Fusion drive (other than the Recovery partition). So I restored from a three-week-old Time Machine backup then proceeded to update over 60 apps, import Mail & rebuild the Photos library.
I gave it one final go today.
1: Performed two different Time Machine backups to two different external hard drives.
2: Performed two separate clones of the system onto to different external SSDs.
3: Downloaded the macOS 11.2 installer on the Big Sur MacBook Pro.
4: Connected one of the iMac Clones to the MacBook Pro.
5: Copied the installer to the iMac’s clone on the external SSD.
6: Selected the clone as the startup drive in System Preferences.
7: Restarted the MacBook Pro from the iMac’s Clone.
8: Ran the Big Sur installer on the clone (startup drive).
9: Endured several mini restarts as the new OS was installed on the external SSD.
10: Checked behaviour of successful installation on the external SSD attached to the MacBook Pro.
11: Restarted MacBook Pro normally & checked the performance & directory of the new Big Sur installation using Disk Utility & TechTool Pro apps. Passed with no errors.
12: Connected the SSD to the iMac & restarted it, selected the SSD as the startup drive by holding down the Option key at startup.
13: The iMac booted OK from the new Big Sur installation & Carbon Copy Cloner app offered to take me through the Guided Assist restoration process, having detected that the iMac had been booted from a clone. The first stage of the operation was to erase the Fusion drive.
14: The cloning of the internal Fusion drive from the external SSD was declared successful.
15: Restarted the iMac from its Fusion drive at the startup chime by holding the option key & selecting the internal drive at the prompt.
16: Checked all performance & apps one the imac had rebooed from its new Big Sur installation.
17: Deleted all previous cloning tasks from Carbon Copy Cloner, connected the external SSD with the earlier Catalina clone on it & cloned Big Sur onto the external SSD for a bootable alternative should there be any issues with Big Sur in the future.
18: Commenced two separate Time Machine backups to the two external hard drives previously used to backup Catalina on the iMac.
19: Published the saga here.


